Jenkins로 CI/CD Pipeline 구축하기 - 11. NPM build
Jenkins로 CI/CD Pipeline 구축하기 - 10. Jenkins와 Sonarqube 연동 Jenkins로 CI/CD Pipeline 구축하기 - 9. Docker에 Sonarqube 설치하기 Jenkins로 CI/CD Pipeline 구축하기 - 8. JenkinsFile 생성 대쉬보드 -..
code00.tistory.com
이전 글 보기
이번에는 code coverage 중 next, react와 연관성이 높은 Jest를 설치해보겠습니다.
npm install --save-dev jest제일먼저 jest를 설치해줍니다.
그다음 subtraction.js 이라는 파일을 만들어줍니다.
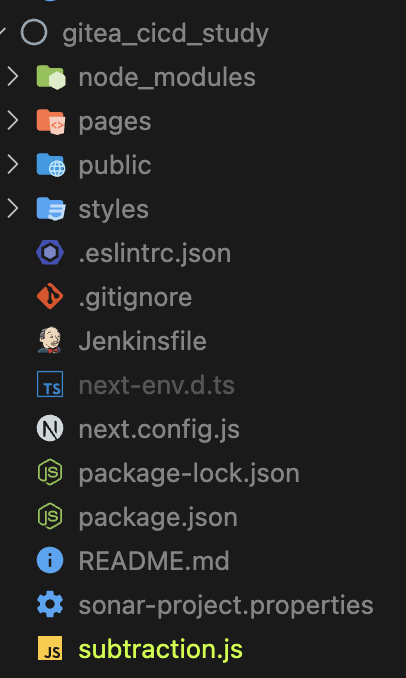
function subtraction(a, b) {
	return a - b;
}

module.exports = subtraction;
파일안에 다음과 같이 코드를 작성해줍니다.
그 후 subtraction.test.js 이라는 파일도 만들어주세요.
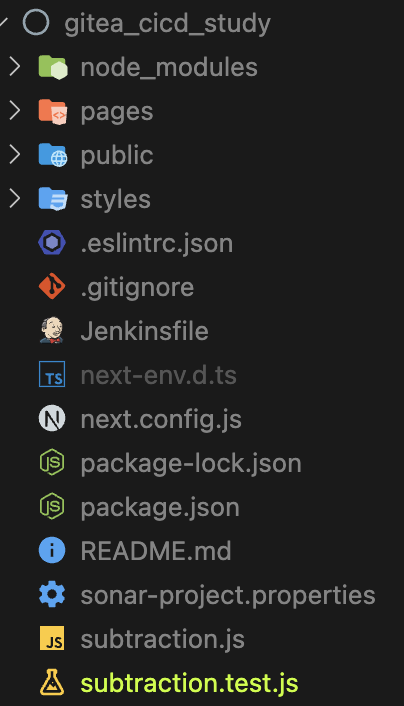
const subtraction = require('./subtraction');
test('subtracts 4 - 2 to equal 2', () => {
	expect(subtraction(4, 2)).toBe(2);
});
다음과 같이 코드를 작성해주세요.
그 후 package.json 파일로 가서 코드를 추가해주세요.
{
   "scripts":
       {
           "test": "jest"
       }
}
다음과 같게 작성해주시면 됩니다.

그 후 npm run test 를 실행하면 다음과 같이 PASS 문구가 나온다면 jest 설치는 완료된 것입니다.
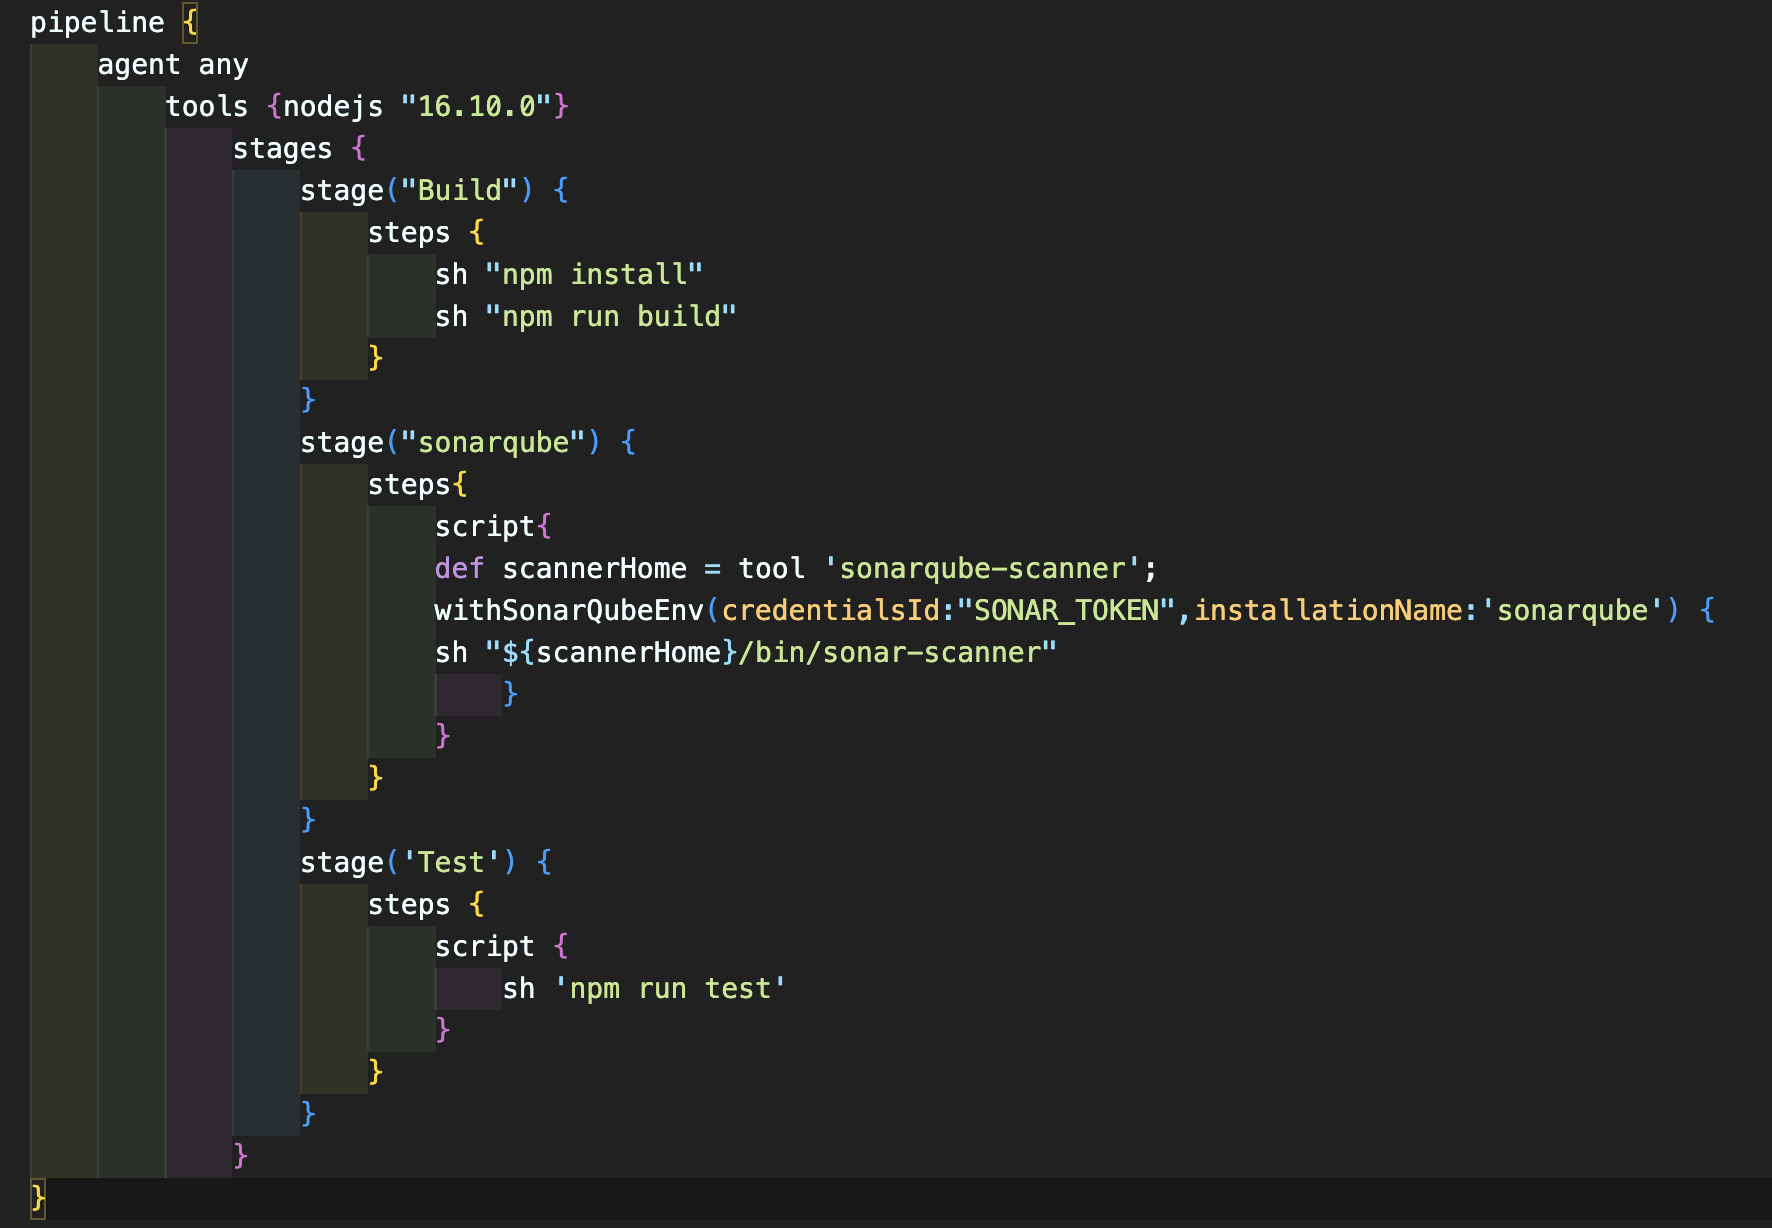
stage('Test') {
  steps {
    script {
     sh 'npm run test'
    }
  }
}
Jenkinsfile에 다음과같이 코드를 추가해주세요.
지금 까지 잘 따라 오셨다면 이런 모양이 나옵니다.

gitea에 push를 해주고 Jenkins로 돌아가보겠습니다.
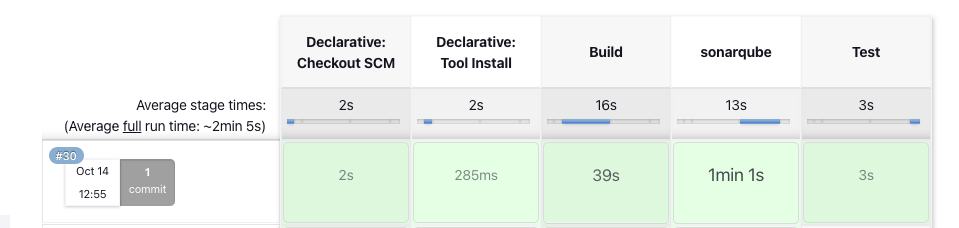
sonarqube 뒤에 test라는 항목이 생기고, 성공적으로 빌드가 되었습니다.
참조
https://medium.com/@trevorjperez1/add-jest-to-your-ci-cd-pipeline-with-github-actions-b369c0079173
'Study > DevOps' 카테고리의 다른 글
| Jenkins로 CI/CD Pipeline 구축하기 - 통합본 (0) | 2022.11.03 |
|---|---|
| Jenkins로 CI/CD Pipeline 구축하기 - 13. Coding Convention (0) | 2022.10.31 |
| Jenkins로 CI/CD Pipeline 구축하기 - 11. NPM build (0) | 2022.10.14 |
| Jenkins로 CI/CD Pipeline 구축하기 - 10. Jenkins와 Sonarqube 연동 (0) | 2022.10.14 |
| Jenkins로 CI/CD Pipeline 구축하기 - 9. Docker에 Sonarqube 설치하기 (0) | 2022.10.12 |


